- Joined
- 31.10.19
- Messages
- 600
- Reaction score
- 1,467
- Points
- 93
In this article I will describe what Whonix is and how it works. Whonix is a virtual machine-based operating system consisting of two virtual machines: Whonix-Gateway and Whonix-Workstation. Whonix-Gateway acts as a virtual router and Whonix-Workstation is the virtual machine that the user interacts with. When a user runs Whonix all of their internet traffic is routed through the Tor network. Whonix-Gateway is responsible for handling all connections to the Tor network and ensuring that all Internet traffic is routed through Tor. Whonix-Workstation is completely isolated from the host operating system: it doesn't know the user’s real IP because connects to the Internet only through Whonix-Gateway.
The most stable and fastest Whonix virtual machines run on QubesOS, followed by VirtualBox and the latest KVM. VirtualBox/KVM must be run on some OS (host system), here the OS selection criteria are quite modest:
First, install VirtualBox on Ubuntu with the command:
After this, reboot the system for the changes to take effect. Now you need to download Whonix for VirtualBox.

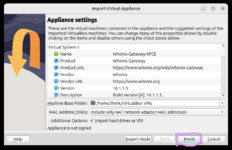
Double click to open the file and a VirtualBox window will open, click Finish.
Accept the agreement to import 2 virtual machines, click Agree.
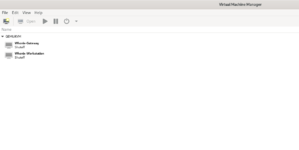
After the import is complete we have 2 Whonix virtual machines.
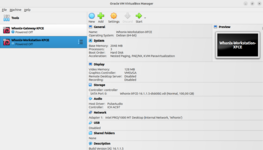
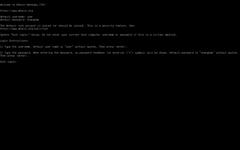
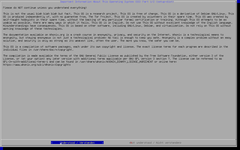
Launch Gateway, select Understood/Verstanden and click Next, then click Finish.
In the window with connection to the Tor network select Configure and click Next.
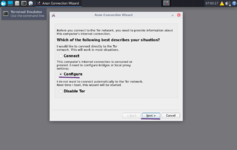
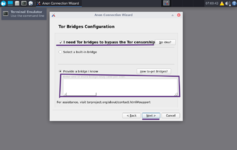
Now check the box I need Tor bridges to bypass the Tor censorship, then request bridges on bridges.torproject.org, click Provide a bridges I know and paste the resulting bridges into the field, then click Next.
At this stage we don’t change anything and just click Next (at the next stage also).
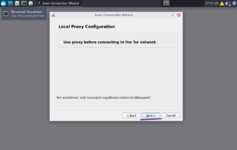
Wait for connection to Tor and click Finish.

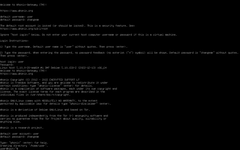
The initial setup of Gateway is complete. Now we minimize this virtual machine (not close it - without a working Gateway there will be no Internet on Workstation) and launch Workstation, doing all the same steps as when we initially launched Gateway.
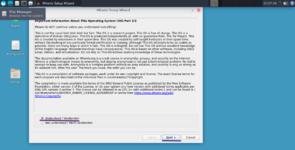
This completes the installation and initial setup of Whonix.
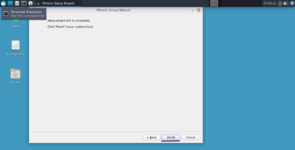
Default username - user. Standard password for Whonix (which needs to be changed) - changeme.
Whonix benefits.
Whonix provides users with a high level of anonymity and confidentiality by sending all Internet traffic through the Tor network. Whonix-Workstation is completely isolated from the host operating system, providing an additional level of security. This means that malware or viruses that may be present in the host operating system should not affect Whonix-Workstation and conversely, viruses from Whonix-Workstation should not affect the host operating system. Despite it's advanced privacy and security features Whonix is easy to use and doesnt require any advanced technical knowledge. Users simply download and install the operating system and can use it like a regular Debian-based Linux distribution. Whonix is open source, which means users can examine the code to ensure there are no backdoors or vulnerabilities in the operating system. Since Whonix is a virtual machine it must be run on some kind of hypervisor - VirtualBox, KVM and QubesOS (Xen) can act as a hypervisor.
The most stable and fastest Whonix virtual machines run on QubesOS, followed by VirtualBox and the latest KVM. VirtualBox/KVM must be run on some OS (host system), here the OS selection criteria are quite modest:
- Easy to install and use.
- No user tracking.
- Stable operation.
- A set of software to minimize the attack surface on the host system and resource consumption.
- Based on Debian/Ubuntu so that the commands on the host system and Whonix are the same.
- Debian
- Pop OS
- Debian for users who have experience with Linux.
- Pop OS for beginners or those with a PC with an NVIDIA graphics card.
Whonix Installing.
First, install VirtualBox on Ubuntu with the command:
sudo apt install virtualbox virtualbox-ext-pack
For VirtualBox to work correctly you need to add a user to the vboxusers group. This can be done with the command:sudo adduser $USER vboxusers
After this, reboot the system for the changes to take effect. Now you need to download Whonix for VirtualBox.

Double click to open the file and a VirtualBox window will open, click Finish.

Accept the agreement to import 2 virtual machines, click Agree.
After the import is complete we have 2 Whonix virtual machines.

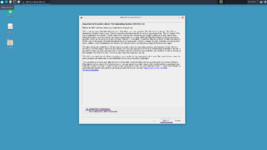
Launch Gateway, select Understood/Verstanden and click Next, then click Finish.
In the window with connection to the Tor network select Configure and click Next.

Now check the box I need Tor bridges to bypass the Tor censorship, then request bridges on bridges.torproject.org, click Provide a bridges I know and paste the resulting bridges into the field, then click Next.

At this stage we don’t change anything and just click Next (at the next stage also).

Wait for connection to Tor and click Finish.

The initial setup of Gateway is complete. Now we minimize this virtual machine (not close it - without a working Gateway there will be no Internet on Workstation) and launch Workstation, doing all the same steps as when we initially launched Gateway.

This completes the installation and initial setup of Whonix.

Default username - user. Standard password for Whonix (which needs to be changed) - changeme.
Last edited:


